Pages

Saturday, April 21, 2012

I don't forget about my Frankens


The base of this dotty manicure is a lovely mint franken, and the dots are also frankens.... I used a dotting tool to make the dots. The polish I used are Frankens i made over 2 years ago........Here is the original post


 the Franken dots......

from a previous post  ( 2 1/4 years ago!!! )


and some Saran Wrap nail art......

So the last sponge mani I did left some major bubbles! Over on ChromaCraze  I read about using saran wrap bunched up to apply/remove polish and it worked out perfect. It creates a different look then sponging does, with none of the bubbles and much less texture.

I used 2 of the same frankens from my dotty manicure above. I started with 2 coats of the lighter colour, then dipped some scruunched up saran wrap into a few drops of the darker franken. I was surprised that the blurple shimmer showed up on my nails .....

I also tried brushing on a layer of the darker polish, then using the saran wrap to remove it. This also worked out well.


o


Thursday, April 19, 2012

Wet n Wild Pink Stripes


These are my real, natural nails. At the moment I am painting and doing a bunch of around-the-house stuff that those decorating shown on HGTV make seem sooooo easy and not messy ( LOL). Hopefully I wil be finished by Friday and can glue on my artificial nails.

These two girly-girl colours from Wet n Wild Wild Shine must have been created to be used together! These both need 3 coats for opacity, they dry fast and they in-expensive. I love Wet n Wild Wild Shine Nail Polish!!!

this polish has a very subtly blurple flash to it.

Normally I would use straight french tip guides for this, however I really like this tape stuff. So far I have not had any sticky residue left on my nails. I find applying tape very hard to do on my right hand.... it took a long time and I need waaaaay more practice properly lining up the tape guides.

I made the mistake of doing an acetone clean up with these things still on my nails.... the acetone bled under the tape and slightly marred this mani. Other than that i really like this stuff. you can find it at office supplies stores ( i think this was 8 bucks ( CAD ). Cutting little pieces of scotch tape is too complicated for me....

I applied 2 coats of Wet n Wild Lavender Creme ( it is not lavender... it is an awesome 99 cent hot pink - *needs 3 coats* ) and let it dry. I applied the tape and cut off any overhang with a pair of manicure scissors. I applied 2 coats of Wet n Wild Frosted Fuchsia, brushing it on diagionally and waited till it was almost dry then peeled off the tape. I applied a coat of TC and will add 1 more. Brushing on the polish diagionally with the direction of the tape helped avoid alot of the ridges and bumps that I would normally get when using french tip guides or tape. 


o


Wednesday, April 18, 2012

this is not what I had planned

 long post ahead- sorry!

Tonight, I had planned on practicing some nail art and working on my water marbling, but ended up with these DIY full nail stickers. Way back in October 2011 I made a bunch of nail polish...... wait, what are we calling these? They aren't really nail stickers, maybe they should be called dry nail polish? I don't know.....


Ummmm - What Is This Called ?

 I think I have read that this is called 'dry polish'. So I will call it that unless that is incorrect....let me know!

There have been some awesome tutorials for this on the interwebs this week..... So far my only complaints is that Wet n Wild Polish's Wild Shine did not do well with this technique, and the plastic needs to be pinned or taped down. Mine curled up and ruined some of my designs, so I used dressmake pins to pin them to a cork board.

I don't have a hard time drawing cheetah print on my nails, (both hands and my toes)I did this for science. This sheet of dry polish was kept in a zip-lock bag for almost 6 months. There was a little bit of cracking due to me not cutting out a small piece to work with - it stuck on my still wet base polish just fine. 

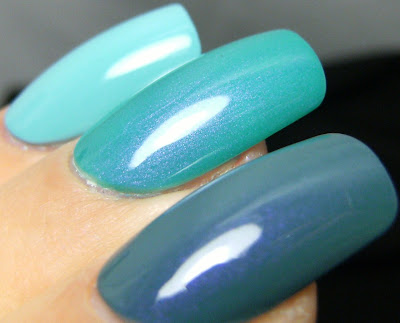
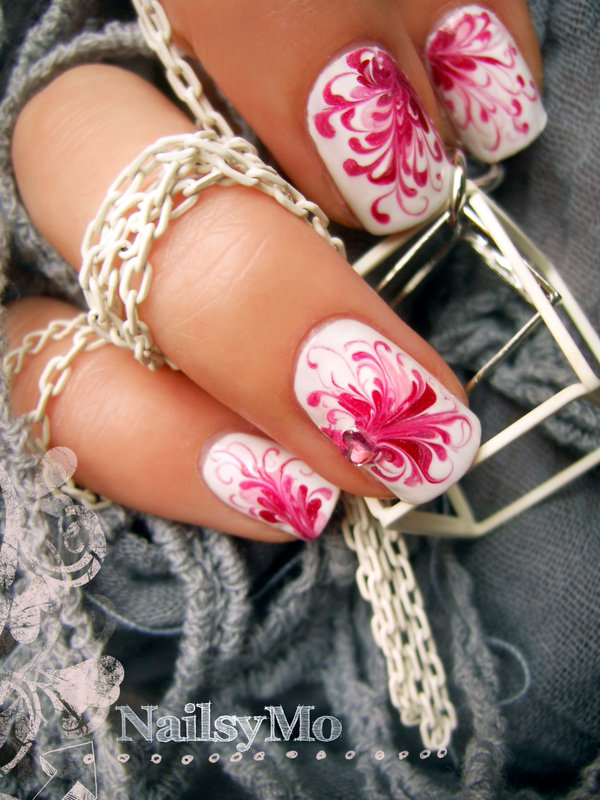
.... Also I suck at water marbling and have finally come to terms with that. This was my 5th try and I can do longer put effort into it. Now I can re-direct my envy, jealousy and despair and try to do this;

.... one day


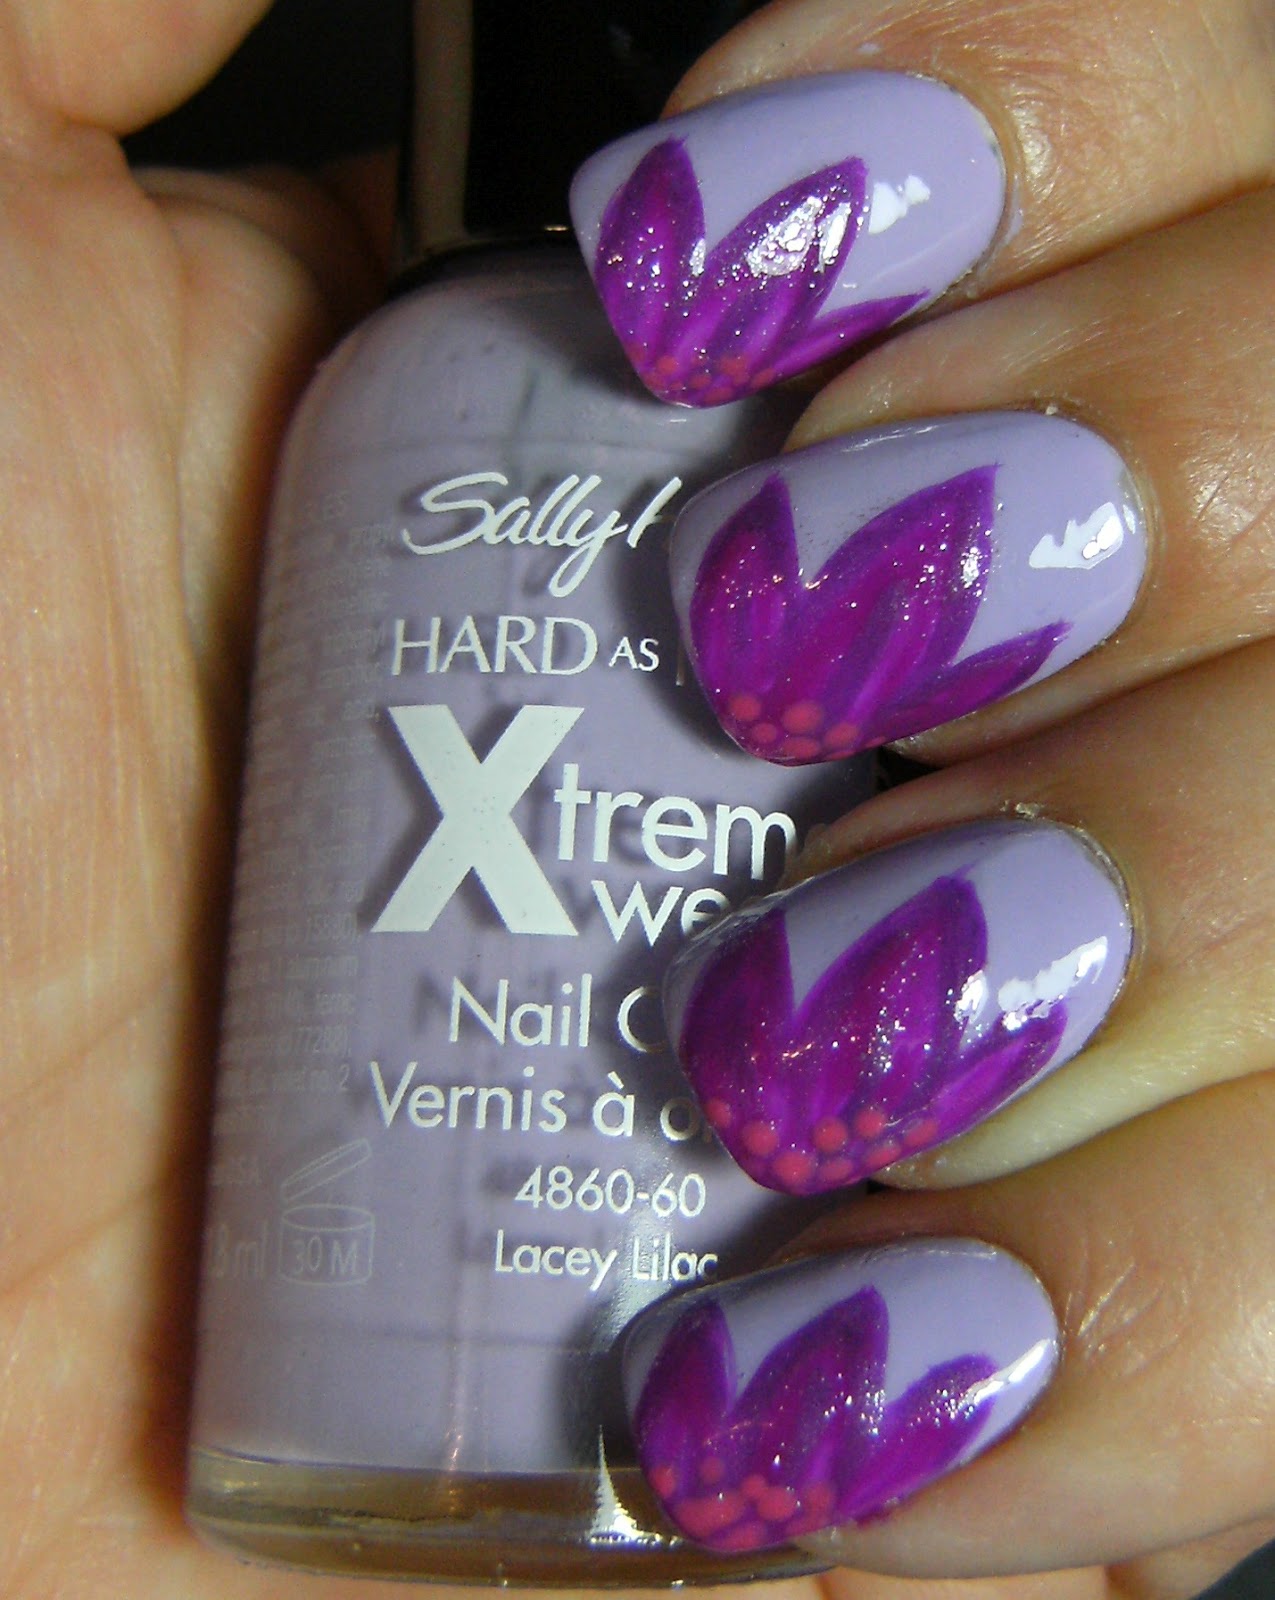
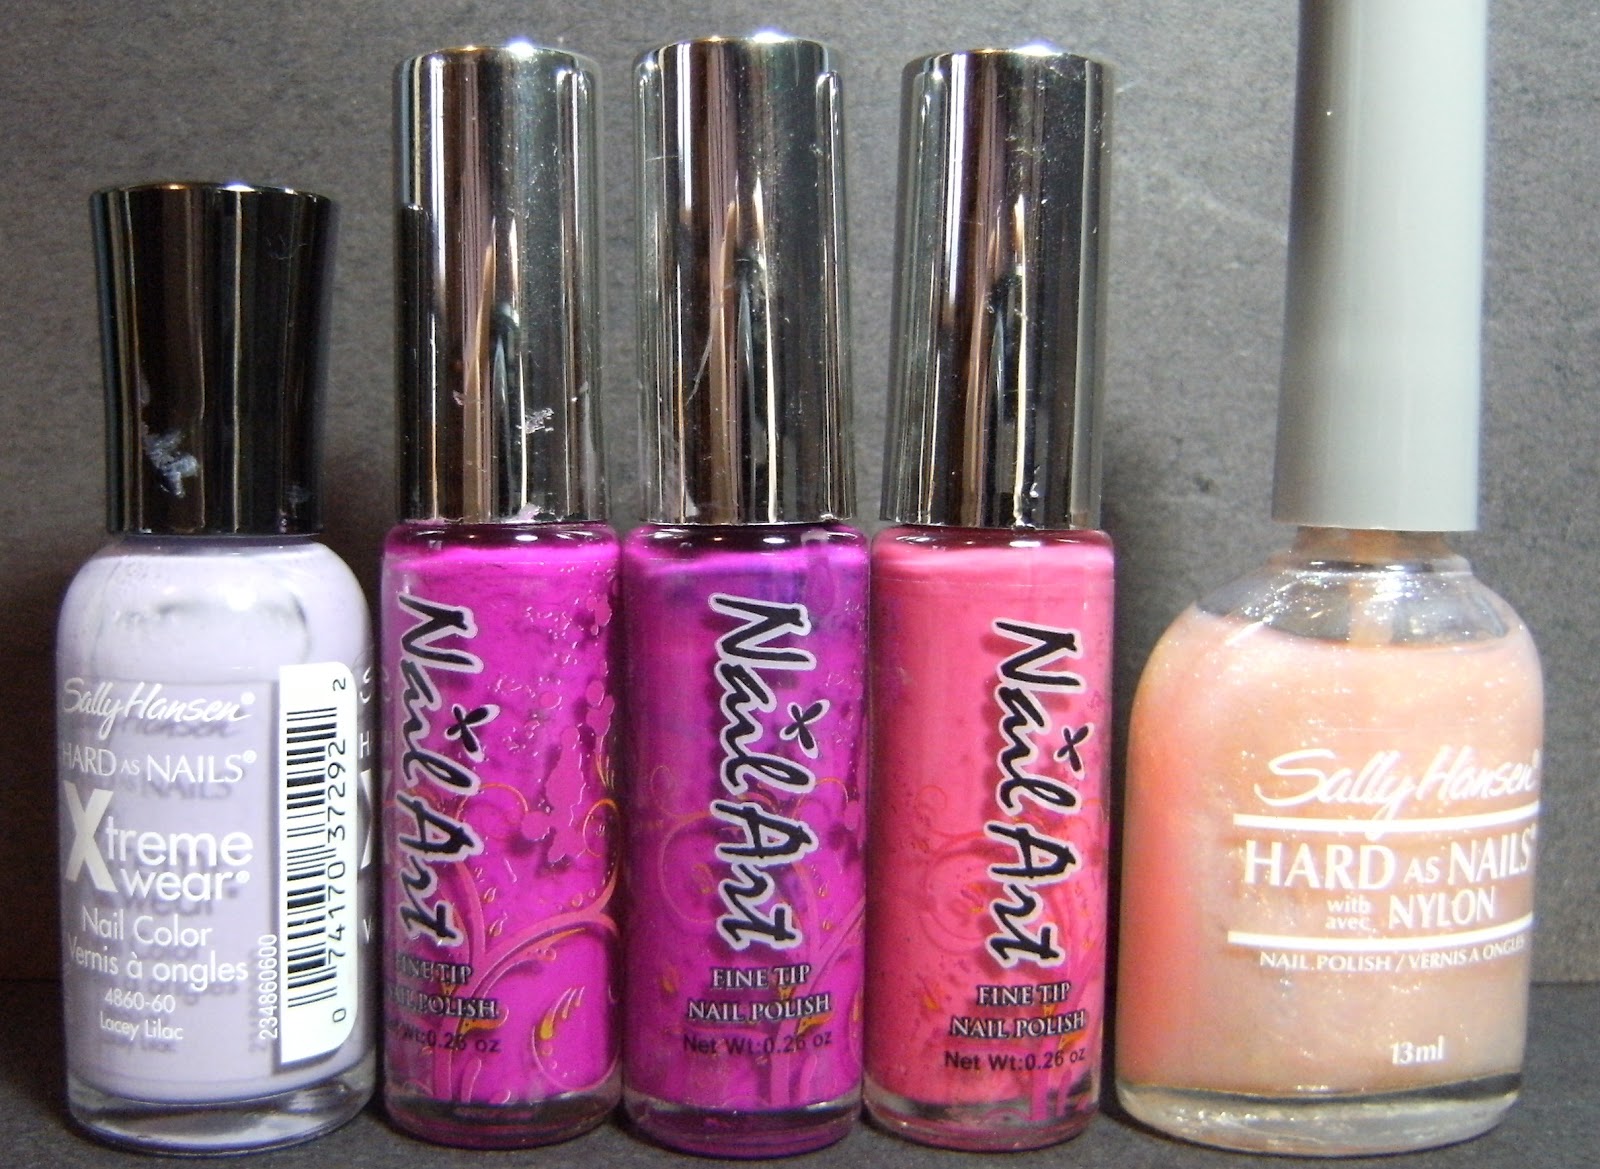
Here is a previous mani I did with dry polish.... I was calling it 'make your own nail stickers / decals', but that really doesnt fit.


finished?

here is the sheet of dry polish I made 6 months ago

I applied a thick coat of clear polish to a cut-up piece of plastic zip-lock bag

I applied blobs of a shimmery gold/peach polish, then used my LA Colors Black nail stripe polish to make the cheetah spots.

I made a pretty big piece.... I doubt that I will ever use all this up.......

just  a zip lock bag with other dry polish sets for the future

I thought that I could be stealthy and reach into this bag and grab one of these.... but my polish was still wet and the dry polish sheet adhered to my nail!

cut to size and placed on the nails. I smoothed this down further - GENTLY -  and then added top coat

Before Top Coat                                                      With Top Coat

I started with 2 coats of Nail Fetish Babe - From the Dollar Tree USA! ( we have The Dollar Tree in Canada Now - I haven't been there yet.... Anyone from Canada been to the Dollar Tree yet? Whats the nail polish and glitter situation like? 3 litre soda? Anyone?


Because there was some major bubbles on my middle nail, and there was some cracking on most of my nails , I added this pretty shimmery polish from Icing called Sparklin' Girl. It has beautiful purple iridescent micro-glitter in it

o


Sunday, April 15, 2012

Flower Power


It was sooooo gloomy outside today - so my mani needed to be bright, cheerful nail art. I started with 2 coats of Sally Hansen Lacey Lilac. Using a pretty magenta stripe polish I drew and filled in the base of the flower, then outlined it with a darker magenta stripe polish. I used a bright pink stripe polish to make dots for the flower center. I added Sally Hansen PinaColada Pop over the flower, then added a coat of TC.


 stuff I used; Sally Hansen Xtreme Wear Lacey Lilac, pink & purple stripe polishes and SH Pina Colada Pop

before I added the pretty shimmery Sally Hansen Polish


Here is a photo from a previous manicure. Sally Hansen Pina Colada Pop is an older polish. I love these types of sheer glass flecked polishes!


I used the Sally Hansen Polish over the flowers only.

o

Saturday, April 14, 2012

Black Crackle


Today I was lazy, so I slapped on a lovely blue franken I made with Wet n Wild Caribbean Frost and a bright white creme. I added 1 coat of Ardene Black Crackle and a coat of TC. I like how this is a stringy crackle...... and not a chunky crackle. I am really not a fan of the whole crackle look.

I was very happy to see so many people put the effort into 'fish egg mani Friday'. When I checked the cost to purchase and ship the real Caviar Mani from Sephora Canada I was flabbergasted! = but soooooo proud of my frugality and bargain shopping.

Check out what I'm trademarking.... The Golf Ball Mani


I had to scrape off those little balls after 3 1/2 hours..... and this is what my nails looked like after.....neat huh? I used a scrape-ey manicure tool to scrape them off then used the nail polish remover I always use. I only spotted a few of those pretty copper microbeads around the house ( for those that were asking ) They hung on for a surprisingly long time considering I just applied top coat then poured the microbeads on my nails......

Here is the franken I made with Wet n Wild Caribbean Frost and a white creme

Tha last time I was in the mall they were stocked up with at least 50 of these in black.


o


Friday, April 13, 2012

Electric Zebra


 Except for the fine cracks in the black Kiss nail art pen, this turned out pretty awesome. I used Sinful Colors Unicorn and Sinful Colors Innocent, sponged on and graduated, then drew the zebra stripes with the fine tipped Kiss nail art pen. When I added TC, the Kiss nail art pen displayed fine cracks..... I wasn't expecting that. So I did what I always do when things don't turn out as expected...... I added Love My Nails Dazzling = Is there anything it can't fix?

Love my Nails Dazzling = I can't quit you

 above and below, I brushed on, then sponged Sinful Colors Unicorn, and Sinful Colors Innocent

 after sponging, my nails looked like the surface of the moon.....

 stuff i used Sinful Colors Unicorn & Innocent, Kiss nail art pen and Nailene TC

there is soooooooooo many ways to draw zebra/tiger stripes

Kiss nail art pen - I really like this even with the fine cracks

Sinful Colors Innocent


here is after I drew on the stripes


 with top coat ( 3 different kinds and clear ) the Kiss nail art pen had fine cracks = weird

Love my Nails Dazzling has to be my favorite way to fix any polish related snafu

o